Unfold the Magic: A Beginner's Guide to Crafting a Perfect Origami Tulip Flower
Feeling a creative spark? Learn how to fold a classic origami tulip, a beginner-friendly project that turns a simple sheet of paper into a stunning, permanent bloom. These paper flowers are not only a great way to add a pop of color to your space, but they also make a perfect, heartfelt gift that will last forever. You don't have to be a paper-folding master to get started—just grab some paper and get ready to experience the magic of origami.
8/28/20248 min read
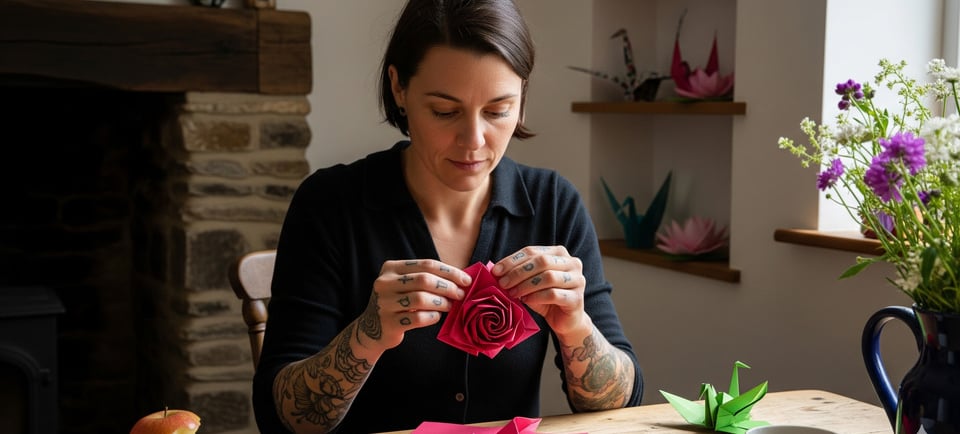
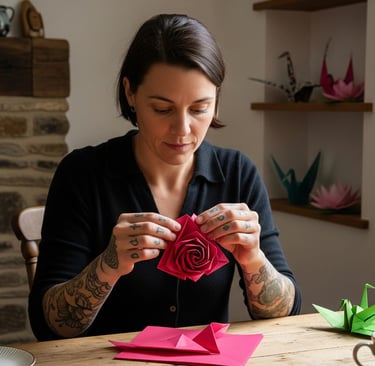
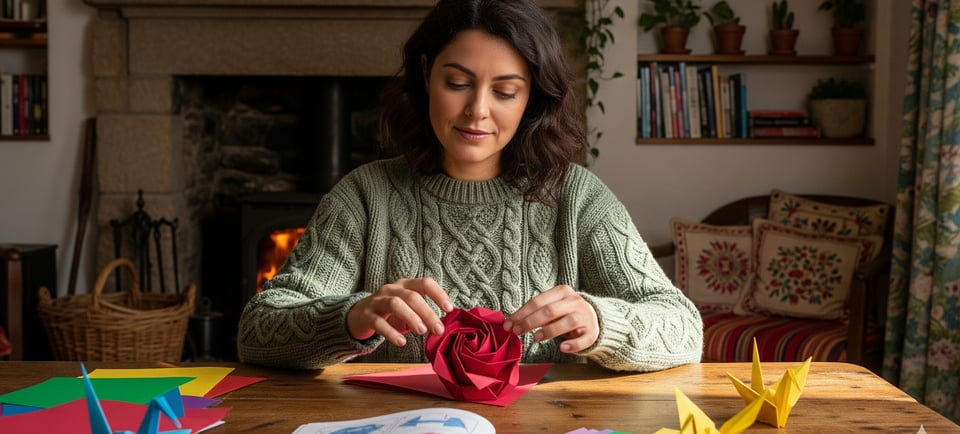
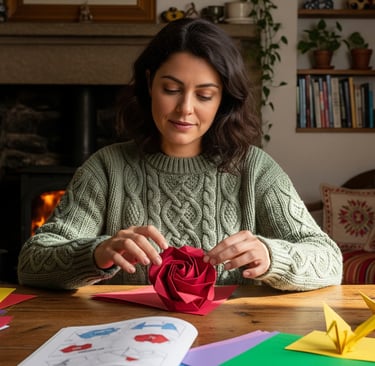
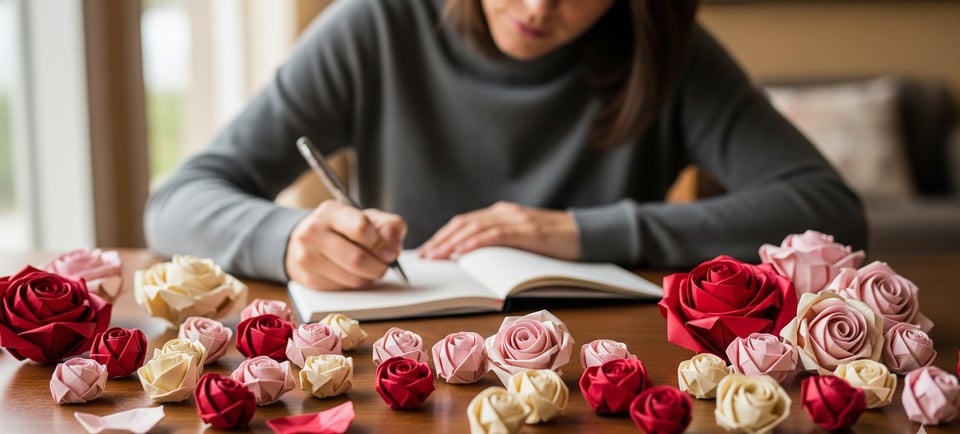
Ever just want to make something beautiful with your own two hands? There's a genuine sense of accomplishment that comes from taking a simple, flat piece of paper and transforming it into something with shape, dimension, and life. Honestly, it’s a little bit of magic. And when it comes to that kind of creative spark, few things are as universally charming as a classic origami tulip.
These aren't just for grade-school art class, mind you. A meticulously folded paper tulip can bring a splash of colour to a home office, serve as a delightful, handcrafted gift tag, or even become a unique centrepiece for a spring celebration. Unlike their real-life counterparts, these paper beauties never wilt, never need water, and are a whole lot more affordable than a florist’s bouquet. Plus, you get to experience the incredible joy of the folding process itself—the crisp lines, the satisfying creases, and the final, graceful moment when your creation takes its final shape.
Here’s the thing: you don’t have to be some kind of paper-folding master to get started. The origami tulip is often considered one of the most accessible and foundational models in the world of paper art. It’s a fantastic starting point for anyone curious about the craft, and the payoff is immediate. So, let’s grab some paper, clear a space, and get to it. You’ll be a paper-folding pro before you know it.
Why an Origami Tulip is the Perfect Paper Craft for You
It's an interesting question, right? With all the incredible paper craft ideas out there, why focus on the humble tulip? Well, for starters, it's got a kind of timeless elegance to it. Tulips, in general, symbolise everything from deep, true love to perfect spring. Making one out of paper taps into that feeling. It's a craft that's not just a passing trend; it’s a classic for a reason.
Another big part of the appeal is the minimal investment. You don't need a fancy studio or a ton of expensive supplies. All you really need is a sheet or two of paper. We’re talking about a completely free project if you have some printer paper lying around. This accessibility makes it a wonderful creative outlet for kids, a calming activity for adults, and a perfect way to express yourself without any stress. Think about it: no screens, no distractions, just you, your hands, and a piece of paper. The simple act of creating something tangible is good for the soul.
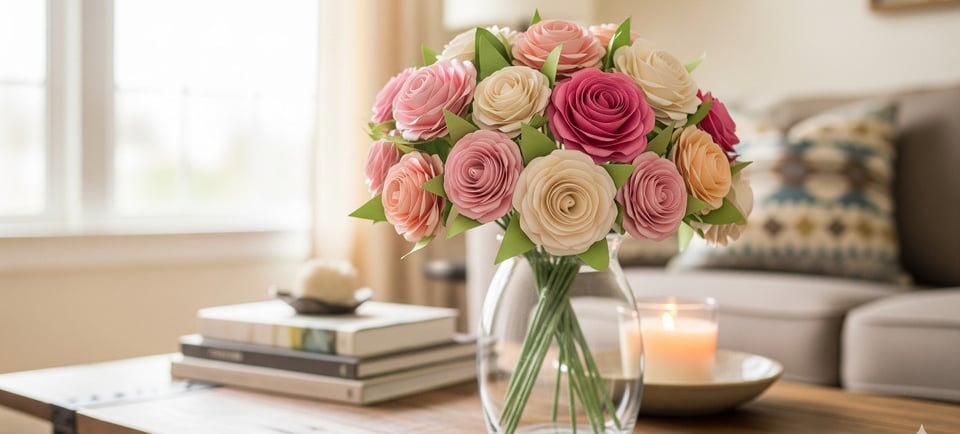
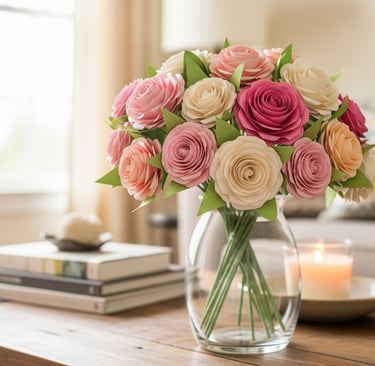
And don't even get me started on the end product. One single origami tulip can brighten up a dull spot on your desk. Make a few, and you can string them into a lovely paper garland or arrange them in a vase for a vibrant, low-maintenance decorative element. They can be a thoughtful "just because" gift, a personal touch on a birthday card, or a sweet party favour. The possibilities are truly endless, and it all begins with one simple, square sheet of paper.
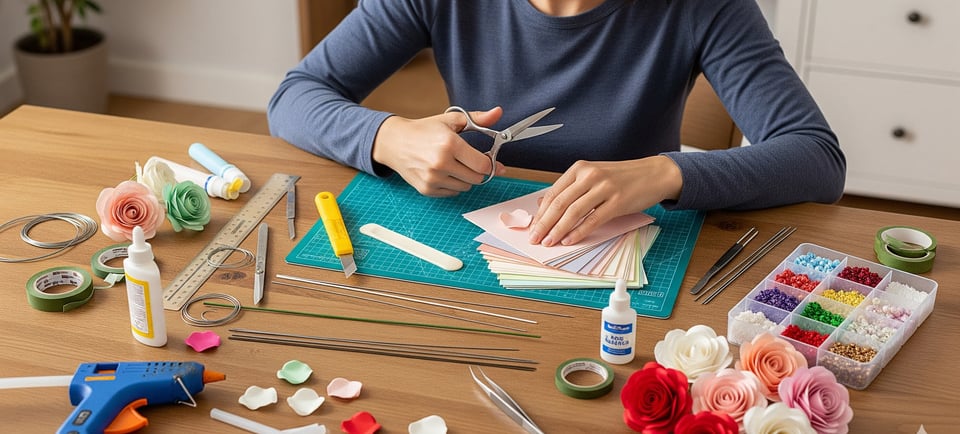
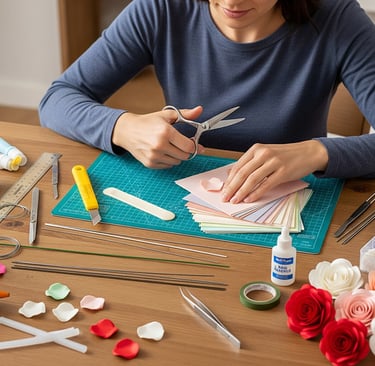
What You’ll Need to Get Started on Your Tulip-Folding Adventure
Before we get to the real meat of the matter—the actual paper folding—let’s just go over the essentials. The supplies are so basic that you probably have them in your home or office right now. You won't have to go on a special shopping trip for this one, which is always a bonus.
Paper: This is the most crucial part. A standard sheet of origami paper is best because it's thin, folds cleanly, and often has a different colour on each side. A 6x6-inch (15x15 cm) square is a great size to work with. If you don’t have origami paper, don’t fret! Any square piece of paper will do. You can even cut down regular printer paper, a magazine page, or wrapping paper. It’s all about experimenting and seeing what works. Just be aware that thicker paper is harder to get those super-crisp creases we want.
A Solid Surface: You'll want a flat, hard surface to work on. A table, a desk, or even a clipboard on your lap will be fine.
Your Hands: That's it! Your own two hands are the primary tools here.
You know what? I've seen some people use a bone folder to help with their creases, but honestly, your fingernails or even the edge of a credit card can do the trick just as well. You don’t need any special equipment to get professional-looking results.
The Great Paper Fold: Step-by-Step Instructions for Your Tulip Blossom
This part can seem a little intimidating at first glance, but I promise, if you take it one step at a time, it's a breeze. We're going to create the classic tulip head first, the puffed-up part with the petals.
Start with a Square: Take your square piece of paper. If it's two-sided, place it with the colored side facing up.
Make an 'X': Fold the paper diagonally by bringing one corner to the opposite corner, and then unfold. Do the same for the other two corners. You should now have two diagonal crease lines forming an "X" on your paper.
The Triangle Collapse: Flip your paper over so the colored side is now facing down. Fold the paper in half, bringing the top edge to the bottom edge. Unfold. Then, fold the paper in half again, bringing the left edge to the right edge. Unfold. Now you have a square with a horizontal, a vertical, and two diagonal creases. Here’s the clever part: gently poke the centre of the "X" and push the sides inward, collapsing the paper into a triangle. You'll have two layers, a front and a back.
Fold the Flaps: With your triangle pointing down, take the right-hand corner of the top layer and fold it up to the very top point of the triangle. Do the same with the left-hand corner. Now, flip the whole thing over and repeat this on the back side. You'll end up with a diamond shape.
Tuck and Secure: Now, let's make it more secure. On the front of your diamond shape, take the right-hand flap and fold it over to the left. Take the left-hand flap and fold it over to the right, tucking the end into the pocket created by the right flap. Turn it over and do the same thing on the back. This part is a little tricky, but the goal is to make a nice, tight, secure fold. 6. Inflate! This is the moment of truth, the part that always feels a little like magic. Hold the model at the very bottom point. You'll notice there's a small hole. Gently blow into that hole. As you do, the tulip will puff up into its round, flower-like shape. If it’s a little stubborn, you can use a pencil or a thin stick to gently push the sides out from the inside.
Form the Petals: Once the tulip is inflated, gently peel back the four separate layers at the top to create the distinct petals. You can curl them slightly with your finger or a pen to give them a more natural look.
Don't Forget the Stem: A Simple Guide to Creating the Greenery
Your beautiful tulip needs a home, a sturdy stem to hold it up and give it a truly finished look. While you could certainly use a straw or a stick, making a paper stem is part of the fun!
Get a Long Piece of Paper: For the stem, a long, rectangular strip of green paper works perfectly. It’s a good idea to use a different colour of paper here, something that contrasts nicely with the tulip head.
Roll It Up: Tightly roll the paper strip into a thin scroll. You can secure the end with a small dab of glue or a piece of tape to keep it from unravelling.
Make the Leaf: This is an optional but lovely addition. Take a smaller, square piece of green paper. Fold it in half diagonally and then fold the top half back on itself. You'll have a diamond shape with a little fold at the top. This will be your leaf.
Putting It All Together: Assembling Your Paper Flower
With your tulip blossom and stem ready, the final step is to put them together.
And there you have it. You've gone from a flat sheet of paper to a gorgeous, three-dimensional piece of art. It's truly amazing, isn't it? The whole process is about paying attention to details, being patient, and seeing the potential in something so simple.
Perfect Origami Tulip Flower FAQs
Q: Can I use different sizes of paper to make my origami tulips?
A: Absolutely! The beauty of this craft is how scalable it is. Using smaller squares will give you tiny, delicate tulips perfect for scattering as confetti or for an earring project. Larger squares will create a dramatic, eye-catching centrepiece. Just remember that the proportions will stay the same, no matter what size you use.
Q: What if I can't get the tulip to inflate?
A: This is a common hurdle, so don't get frustrated. It's usually a sign that your folds aren't quite tight enough, especially the tucking part in Step 5. Try going back and re-creasing those folds very firmly. Sometimes, a tiny bit of air escaping is all it takes to prevent inflation. A little patience and a bit more force on your folds should solve it.
Q: How can I display my origami tulips?
A: There are so many creative ways! You can arrange them in a vase (of course!), but they also look fantastic as a garland hung across a window or a mantelpiece. You could also attach them to a wreath, use them to decorate a gift box, or even make a big bunch and use them as a unique prop for a photo shoot. Think of them as a versatile, low-cost piece of art.
Q: Are there other kinds of origami flowers I can make?
A: Oh, for sure! Once you’ve mastered the tulip, you're on a roll. You can move on to other classic models like the lily, the iris, or the popular rose. The techniques you've learned here—the base folds, the tucks, and the inflation—are fundamental to a lot of other paper-folding projects. So, let your imagination run wild!
Flowers
Delivering joy through beautiful floral arrangements.
Relay
contact@ukfloristnetwork.com
© 2024. All rights reserved.